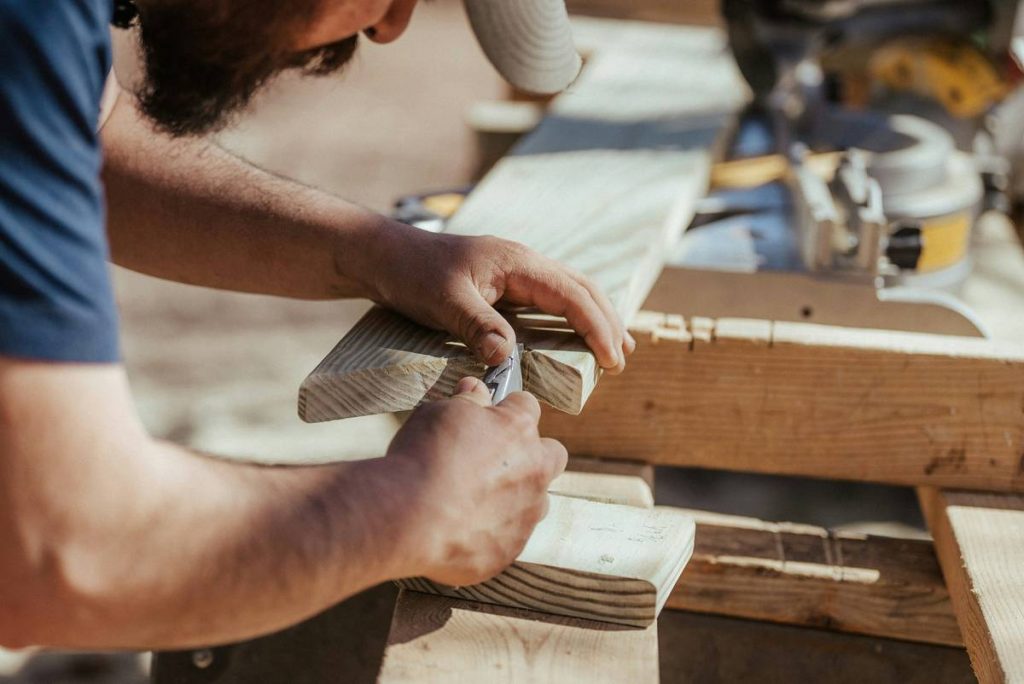
Ever ruined a perfectly good plank because your band saw veered off course like a sleepy driver on a country road? You’re not alone. Band saws are powerful allies in DIY woodworking—but only if you know how to tame them. In this guide, we’ll walk you through the exact steps to master diy project band saw wood cutting without sacrificing fingers, time, or expensive lumber. Whether you’re crafting custom shelves or restoring vintage furniture, precision matters. We’ll cover setup, safety, blade selection, and real-world tricks I’ve learned after one too many botched curves.
Table of Contents
- Why Band Saw Precision Makes or Breaks Your DIY Project
- Step-by-Step Guide to Flawless Band Saw Cuts
- 5 Best Practices for Cleaner, Safer Cuts
- Real Results: From Wobble to Wow
- Frequently Asked Questions
Key Takeaways
- Blade tension and tracking are non-negotiable for accurate diy project band saw wood cutting.
- Feed rate matters more than speed—pushing too hard causes deflection and burns.
- Always perform test cuts on scrap wood before committing to your final piece.
- Use guides and fences religiously; freehand cuts invite disaster on tight curves.
- Safety gear isn’t optional—gloves off, eye protection on, and keep hair tied back.
Why Band Saw Precision Makes or Breaks Your DIY Project
In home improvement, especially within tools & hardware, the band saw is your secret weapon for intricate curves, resawing thick stock, and salvaging warped lumber. But here’s the brutal truth: a misaligned or misused band saw doesn’t just waste wood—it erodes confidence. I once spent three hours selecting the perfect oak slab for a live-edge coffee table, only to slice it crooked because I’d skipped blade tensioning. The result? A $120 paperweight.
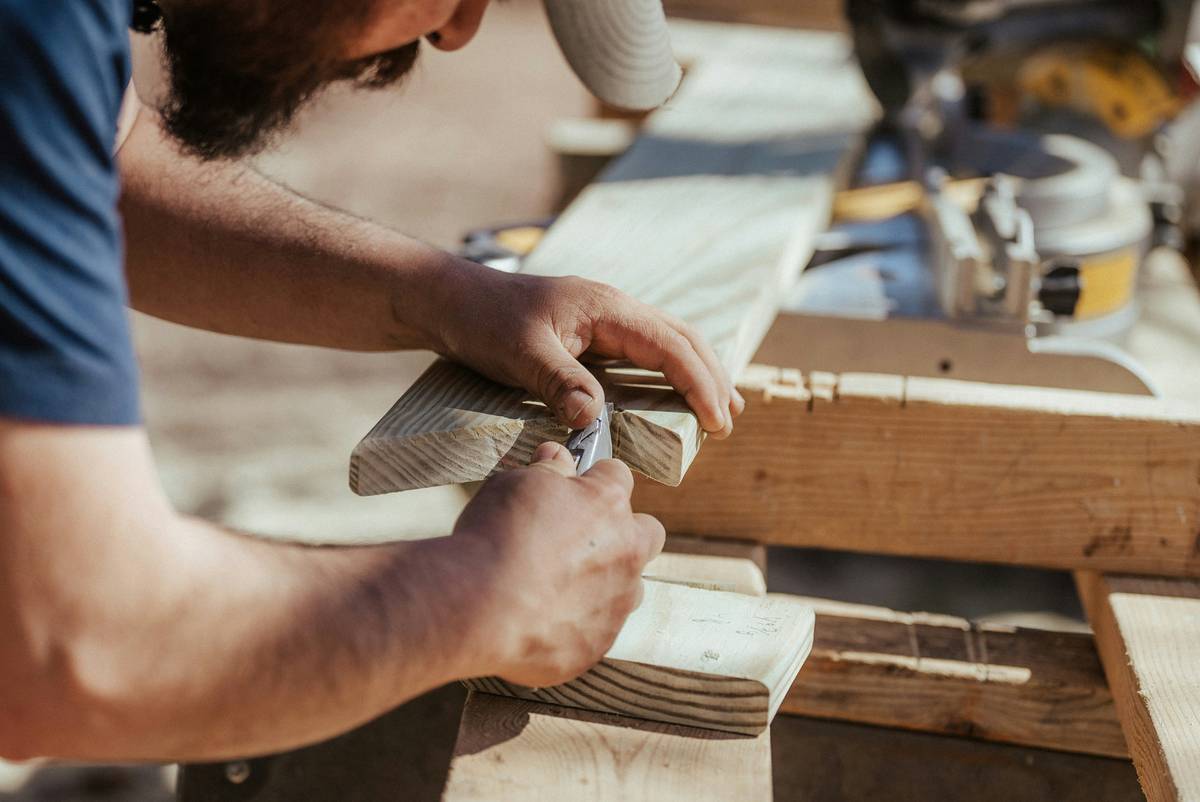
According to the U.S. Consumer Product Safety Commission, over 37,000 table and band saw injuries occur annually in the U.S. alone—many tied to improper setup or rushed work. That’s why mastering diy project band saw wood cutting isn’t just about aesthetics; it’s about trust between you and your machine. At Golding Products, we prioritize tools that empower safe, precise craftsmanship—learn more about our mission on our About Us page.
Step-by-Step Guide to Flawless Band Saw Cuts
1. Choose the Right Blade
Blade selection hinges on your cut type. For straight resawing, use 2–3 TPI (teeth per inch). For tight curves under 2 inches radius, go with 6–14 TPI. A common blunder? Using a coarse blade for delicate scrollwork—it’ll splinter edges like dry crackers.
2. Set Proper Tension and Tracking
Consult your manual, but generally: pluck the blade—it should ring like a guitar string, not thud. Adjust tracking so the blade runs centered on the crown of both wheels. If it drifts left or right during idle spin, recenter it using the tracking knob.
3. Align Guides and Table
The blade guard should sit 1/8” above your workpiece. Position thrust bearings just behind the blade teeth. Square your table to the blade—use a reliable machinist’s square. Even 1° off ruins joinery.
4. Perform Test Cuts
Run scrap wood through at your intended feed rate. Check for burning (too slow or dull blade) or wandering (misalignment). Adjust before touching your project stock.
5. Execute the Cut with Control
Let the blade do the work. Apply gentle, consistent pressure. On curves, rotate the wood—not the saw. Keep both hands clear of the blade path. This is where diy project band saw wood cutting transitions from risky to rewarding.
6. Maintain Post-Cut Discipline
Clean sawdust buildup immediately. Lubricate wheels monthly. Store blades flat or coiled properly—they lose temper if kinked.
5 Best Practices for Cleaner, Safer Cuts
- Never wear gloves near rotating blades. They can snag and yank your hand in. Use push sticks for narrow stock instead.
- Mark your cut line clearly—and cut just outside it. Sanding removes the pencil line later.
- Use sacrificial backing boards when cutting thin stock to prevent tear-out.
- Check blade sharpness weekly. Dull teeth increase friction and burn risk. Replace blades after 2–3 hours of hardwood cutting.
- Avoid this terrible tip: “Just eyeball the alignment.” Nope. Measure twice, cut once—even on a band saw.
Real Results: From Wobble to Wow
Last year, a customer tackled a mid-century chair restoration using our recommended setup. Initially, their cuts drifted 3/16” over 12 inches—unusable for joinery. After adjusting blade tension (verified with a digital gauge) and squaring the table per guidelines from Fine Woodworking, their accuracy improved to ±1/64”. They completed the set in half the expected time.
Another case: a hobbyist cutting segmented bowls kept burning maple. Switching from a 4 TPI to a 10 TPI blade and reducing feed pressure eliminated scorch marks instantly. That’s the power of informed diy project band saw wood cutting.
We take data privacy seriously during any customer consultation—review our full policy at Privacy Policy.
Frequently Asked Questions
Can I use a band saw for metal cutting?
Only if it’s specifically rated for metal. Standard wood band saws lack the slow speeds and coolant systems needed. Attempting it risks blade shatter—see OSHA’s machinery guidelines for details.
How often should I replace my band saw blade?
Depends on material. For hardwoods, replace after 2–3 hours of cumulative use. Visual cues: missing teeth, excessive pitch buildup, or inconsistent cuts despite proper tension.
Why does my band saw leave burn marks?
Burns usually mean dull teeth, slow feed rate, or incorrect blade type. Try increasing feed pressure slightly or switching to a higher TPI blade for dense woods.
Is a 14-inch band saw sufficient for most diy projects?
Yes—for resawing stock up to 6 inches thick and cutting curves down to 2-inch radii, it’s ideal. Larger projects may need a 16–20” model, but 14” covers 90% of home workshop needs.
What’s the safest way to cut small pieces?
Never freehand them. Use a push block or clamp the piece to a larger carrier board. Your fingers should never be within 3 inches of the blade.
Where can I get help choosing the right band saw?
We offer personalized consultations—reach out via our Contact Us page.
Mastery isn’t about fancy tools—it’s about respect for the process. Nail your diy project band saw wood cutting, and every curve becomes a signature, not a compromise. Ready to build with confidence? Get in touch—we’ll help you pick the perfect setup.
Measure twice, cut once… and always let the blade lead the dance.