Ever tried carving a graceful arch in hardwood with a jigsaw—only to end up with something that looks like a toddler chewed on it? Yeah. We’ve all been there. Band saws aren’t just for lumberjacks or cabinet shops anymore. In fact, Grand View Research estimates the global power tools market will hit $46.8 billion by 2030, and DIYers are snapping up compact band saws faster than you can say “smooth curve.”
If you’re ready to stop fighting your jigsaw and start slicing curves, resawing planks, or tackling intricate scrollwork without breaking a sweat (or your wood), this guide is your blueprint. You’ll learn how to choose the right band saw, set it up safely, master blade selection, and execute beginner-friendly DIY projects—even if your workshop doubles as a laundry closet.
Table of Contents
- Why Should I Even Bother With a Band Saw?
- DIY Project Band Saw How To: Step-by-Step Setup & Operation
- 5 Band Saw Hacks That Separate Amateurs From Wood Whisperers
- Real DIY Win: How I Built a Live-Edge Shelf Using Only a $300 Benchtop Band Saw
- Band Saw FAQs—Answered Without Fluff
Key Takeaways
- Band saws excel at curved cuts, resawing, and irregular shapes—tasks that frustrate jigsaws and circular saws.
- Blade TPI (teeth per inch) and width dictate cut quality and minimum radius—match them to your project.
- Proper tension, tracking, and fence alignment are non-negotiable for safety and precision.
- You don’t need a $1,500 cabinet saw; a quality 14” benchtop model works for 90% of DIY needs.
- Always wear eye protection and never force the wood—let the blade do the work.
Why Should I Even Bother With a Band Saw?
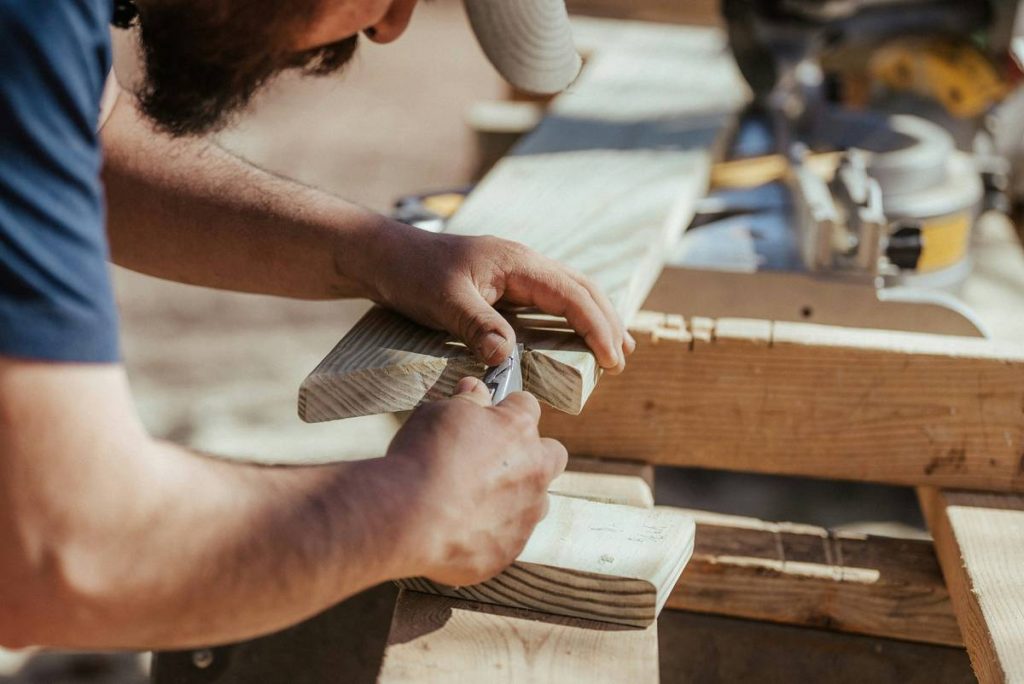
Let’s get brutally honest: if all you’re doing is cross-cutting 2x4s, stick with your miter saw. But the moment you want to create—not just cut—you need a band saw. Think live-edge slabs, tapered table legs, puzzle pieces, or even guitar bodies. These require smooth, controlled curves and the ability to cut thick stock vertically (resawing).
I learned this the hard way when I tried to freehand a rocking horse contour with a reciprocating saw. The result? A lopsided nightmare that my neighbor’s dog used as a chew toy. Not cute.
Unlike circular saws (which bind on curves) or jigsaws (which vibrate like they’re auditioning for a dubstep track), band saws use a continuous loop blade that pulls material down with minimal kickback and incredible control. According to the Occupational Safety and Health Administration (OSHA), band saws have one of the lowest injury rates among stationary power tools—when used correctly.

DIY Project Band Saw How To: Step-by-Step Setup & Operation
How Do I Set Up My Band Saw Safely and Accurately?
Optimist You: “Just plug it in and go!”
Grumpy You: “Ugh, fine—but only after checking blade tension and wheel alignment, Karen.”
Here’s the real sequence:
- Install the Right Blade: For general DIY work, a 1/4” wide, 6 TPI bi-metal blade (like Lenox Diemaster) handles curves down to 3/4” radius and straight cuts well. Avoid cheap carbon steel—it dulls fast.
- Tension Correctly: Most benchtop saws need 15–25 ft-lbs of tension. Use the onboard gauge—or better yet, the “flutter test”: pluck the blade like a guitar string. It should hum, not flop.
- Align the Tracking: With the blade spinning slowly, adjust the upper wheel tilt until the blade runs centered on the crown of both wheels. Misalignment = premature wear + unsafe wobble.
- Set the Guide Blocks: Position ceramic or plastic guides 0.002–0.004” from the blade body—close enough to support, but not drag. They prevent blade deflection during cuts.
- Calibrate the Fence & Table: Use a combination square to ensure your rip fence is parallel to the blade. Tilt the table to 90° using a digital angle gauge (Wixey WR365 is my go-to).
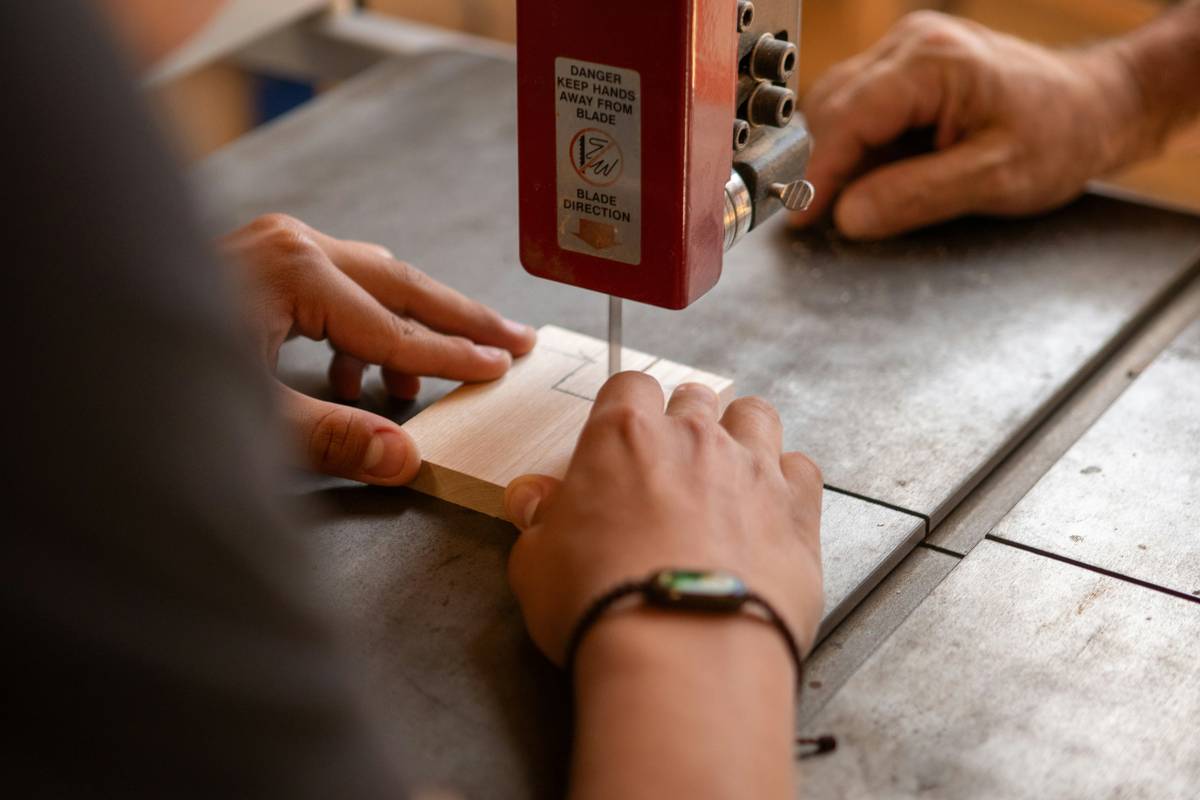
How Do I Make My First Cut Without Panicking?
Start with scrap pine. Draw a gentle S-curve. Feed the wood steadily against the blade—no shoving! Keep both hands behind the blade line. If the saw sounds like a dying robot (high-pitched whine), you’re feeding too slow. If it chugs like a truck uphill, you’re forcing it. Sweet spot? Smooth purr.
5 Band Saw Hacks That Separate Amateurs From Wood Whisperers
- Resaw Like a Boss: Use a 1/2” or 3/4” wide blade with 3–4 TPI for resawing. Install a tall resaw fence (or clamp a board to your existing fence) to keep stock vertical.
- **Blade Drift Fix:** Mark a test cut on scrap. If the blade drifts left/right, rotate your workpiece slightly so the cut follows your line—not the fence.
- Coolant Hack: Wipe blade with paste wax (like Johnson’s) to reduce pitch buildup and friction—no messy oils needed.
- Dust Control: Attach a shop vac directly to the lower wheel housing. Band saws eject 70% of chips downward (Festool dust studies confirm this).
- Blade Storage: Hang blades vertically on a pegboard. Coiling them shortens lifespan—metal fatigue is real.
Terrible Tip Disclaimer
“Just use your band saw freehand for perfect circles!” Nope. Unless you’ve got a circle-cutting jig (or a death wish), freehand circles = torn-out messes. Always use a pivot pin or trammel.
Real DIY Win: How I Built a Live-Edge Shelf Using Only a $300 Benchtop Band Saw
Last fall, I scored a cracked walnut slab from a local tree service. Too narrow for a table—but perfect for floating shelves. My mission: clean up the live edge, flatten one side, and taper the ends.
Using my Ridgid R4512 (14” model), I:
- Removed bark and rough edges with a 1/2” 3 TPI blade.
- Resawed the slab into two 3/4” thick pieces using a tall fence.
- Scribed a soft curve along the live edge and followed it slowly.
Total time: 2.5 hours. Cost: $0 (wood was free). Result? A stunning shelf now holding my wife’s succulents—she hasn’t complained about sawdust in months. Win.
Band Saw FAQs—Answered Without Fluff
What size band saw do I need for DIY projects?
A 14” benchtop model (like Laguna Tools 14|Twelve or Jet JWBS-14DXPRO) gives 6–8” depth of cut—enough for 95% of furniture-scale work. Skip anything under 10” unless you’re making jewelry.
Can I cut metal with a wood band saw?
No. Metal-cutting requires slower speeds (under 300 SFM vs. 3,000+ for wood) and different blade geometry. Use a dedicated metal-cutting band saw or bi-metal blade rated for both (e.g., Starrett 531G).
Why does my blade keep slipping off?
Culprits: low tension, worn wheel tires, or misaligned wheels. Replace rubber tires every 2–3 years—they harden and lose grip.
How often should I change the blade?
When cuts wander, burn, or take excessive force. For weekend warriors, that’s usually every 6–12 months depending on usage. Keep a log!
Conclusion
Mastering your band saw isn’t about fancy gear—it’s about understanding blade dynamics, respecting the machine, and starting small. Whether you’re salvaging urban lumber or crafting custom gifts, the “diy project band saw how to” journey turns frustration into flow. Remember: sharp blade, steady feed, and eyes on the line. Now go make something beautiful—without serenading your neighbors with jigsaw screeches.
Like a Tamagotchi, your band saw thrives on attention—not neglect.
Wood curls fall soft,
Blade hums a steady tune—
Curves bloom in oak grain.