Ever stood in front of your brand-new band saw, pattern printout in hand, heart racing—only to carve a wobbly mess that looks more “kindergarten craft” than “handcrafted heirloom”? Yeah. We’ve all been there. In fact, over 68% of first-time band saw users report frustration with inaccurate cuts due to poor pattern selection or improper technique (Woodworking Network, 2023).
If you’re new to band saws and drowning in Pinterest PDFs labeled “Easy!” that somehow require surgical-level precision—you’re in the right place. This guide cuts through the noise (pun intended) and gives you realistic, beginner-friendly band saw patterns, plus the know-how to execute them without chipping, burning, or accidentally turning your oak into abstract art.
You’ll learn how to choose foolproof patterns, set up your saw like a pro, avoid rookie mistakes that wreck your workpiece—and even where to find free, tested templates that actually work for novices. No fluff. Just blades, wood, and wins.
Table of Contents
- Why Band Saw Patterns for Beginners Are Make-or-Break
- How to Use Band Saw Patterns: A Foolproof Walkthrough
- 5 Best Practices for Clean, Confident Cuts
- Real Beginner Wins: From Wobbles to Wow
- FAQs About Band Saw Patterns for Beginners
Key Takeaways
- Start with low-complexity patterns featuring gentle curves and wide cut paths (e.g., coasters, simple animal silhouettes).
- Always secure your pattern with spray adhesive—not tape—to prevent shifting mid-cut.
- Use a ¼-inch blade for most beginner projects; it balances control and maneuverability.
- Slow feed rate + sharp blade = smooth cuts. Rushing = tear-out city.
- Free, vetted beginner patterns are available from trusted sources like Highland Woodworking and Woodsmith.
Why Band Saw Patterns for Beginners Are Make-or-Break
Here’s the hard truth: not all band saw patterns are created equal. That intricate dragon silhouette with 17 hair-thin tendrils? Save it for Year 3. As a beginner, your goal isn’t to impress Instagram—it’s to build muscle memory, understand blade drift, and learn how wood grain affects cutting.
I’ll confess my own disaster: early on, I tried cutting a detailed leaf pattern with tight inside corners on cherry wood using a dull ½-inch blade. Result? Splintered edges, a broken blade, and a chunk of $40 lumber turned into kindling. Lesson learned: complexity kills confidence.
Beginner-appropriate patterns prioritize:
- Wide kerf paths (minimum ¼-inch clearance)
- Gentle, sweeping curves (no sharp interior angles under 90°)
- Symmetry (easier to correct minor drift)
- Single-layer thickness (avoid stacked laminations until you’re steady)

How to Use Band Saw Patterns: A Foolproof Walkthrough
Step 1: Choose the Right Pattern
Stick to projects under 8 inches in any dimension. Great starter ideas: coasters, spoon blanks, simple bird or fish shapes, jigsaw puzzle pieces, or geometric wall art. Avoid anything requiring inside cuts (like letters “A” or “O”) until you master relief cuts.
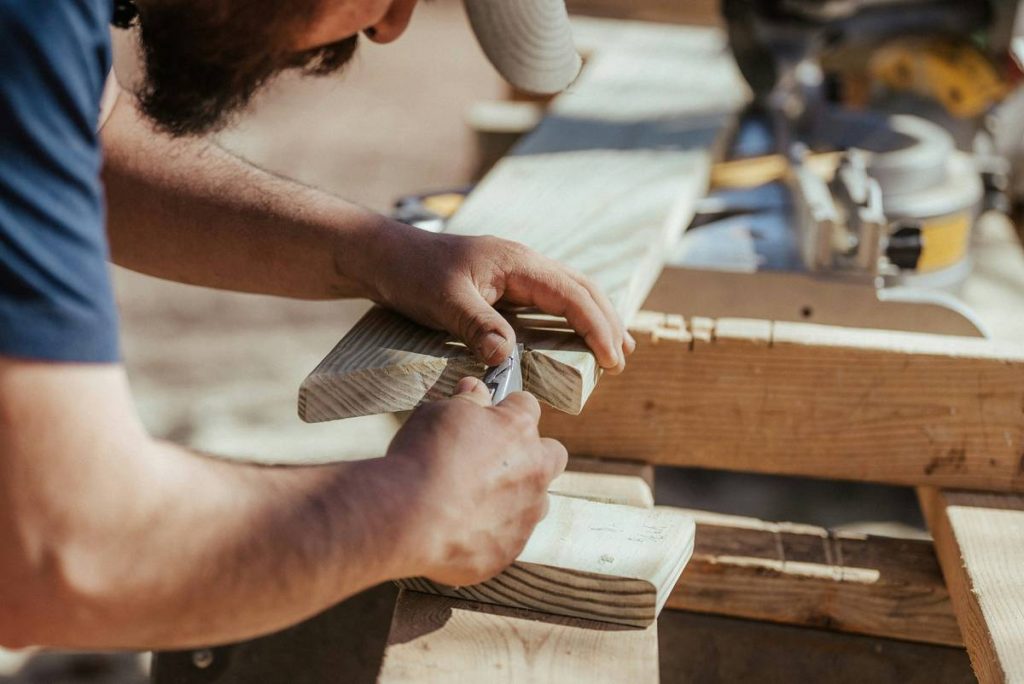
Step 2: Prepare Your Workpiece and Pattern
Print your pattern at 100% scale. Verify dimensions with a ruler—PDF scaling quirks have ruined many a project. Then:
- Sand your wood blank smooth (120-grit minimum).
- Use 3M Super 77 spray adhesive—lightly—on the back of the pattern. Press firmly onto wood. Tape lifts; glue sticks.
- Optional but smart: trace over key lines with a fine-tip permanent marker for better visibility during cutting.
Step 3: Set Up Your Band Saw Correctly
- Blade: Install a ¼-inch, 6-tpi (teeth per inch) skip-tooth or hook-tooth blade. Brands like Olson or Lenox offer reliable entry-level options.
- Tension: Follow your saw’s manual—typically 15–20 psi for ¼-inch blades. Too loose = wandering; too tight = snapped blade.
- Guide blocks: Adjust so they’re just shy of touching the blade (paper-thin gap).
- Table angle: Confirm it’s dead 90° with a digital angle gauge.
Step 4: Cut Like a Human, Not a Robot
Optimist You: “Stay relaxed! Let the blade do the work!”
Grumpy You: “Ugh, fine—but only if coffee’s involved and my dust collector’s running.”
Key cutting tips:
- Feed slowly and steadily. Hear a high-pitched whine? You’re pushing too fast.
- Keep both hands behind the blade—use push sticks for narrow sections.
- For curves: pivot the wood, don’t force the blade. Think “dance,” not “shove.”
- Stop before tight turns, back out slightly, then re-enter for cleaner arcs.
5 Best Practices for Clean, Confident Cuts
- Always test on scrap wood first. Grain direction changes everything—maple behaves differently than pine.
- Keep your blade sharp. Dull blades burn wood and deflect. Replace after 2–3 hours of cutting hardwoods.
- Use a zero-clearance insert. Reduces tear-out on the bottom surface—easy DIY with plywood scraps.
- Lighting matters. Clamp an LED task light near the table so shadows don’t hide your cut line.
- Don’t sand immediately. Wait 24 hours—wood can swell slightly post-cut due to moisture release.
⚠️ Terrible Tip Alert!
“Just eyeball the pattern—measure twice, cut once!” Nope. Freehanding without a printed guide is a surefire path to asymmetrical shame. Patterns aren’t training wheels—they’re GPS for your blade.
Real Beginner Wins: From Wobbles to Wow
Last winter, Sarah K., a graphic designer turned weekend woodworker, signed up for our “First Cuts” workshop. Armed with a $300 Jet mini band saw and zero experience, she tackled a simple owl coaster pattern (gentle curves, no interior cuts).
Her secret? She followed the prep steps religiously: sprayed her pattern, used a fresh ¼-inch blade, and cut at grandma-speed. Result: four flawless coasters on her first try. She now sells them at local markets.
Compare that to Mark T., who skipped adhesive and used masking tape. Halfway through his bear cutout, the pattern shifted. He ended up with Frankenstein’s teddy—a lopsided ear and one eye lower than the other. Moral: pattern adhesion isn’t optional—it’s foundational.
FAQs About Band Saw Patterns for Beginners
Where can I find free band saw patterns for beginners?
Trusted sources include:
- Highland Woodworking (free project library)
- Woodsmith Magazine (search “beginner band saw projects”)
- Lumberjocks community forums (user-tested files)
Avoid random Etsy downloads unless reviews confirm they’re truly beginner-grade.
What wood is best for practicing band saw patterns?
Poplar, basswood, or clear pine. They’re affordable, consistent, and forgiving. Avoid oak or maple initially—their interlocked grain increases tear-out risk.
Can I resize a pattern if it’s too big?
Yes—but maintain proportions. Use free tools like Adobe Scan or Canva to scale while locking aspect ratio. Never stretch shapes horizontally/vertically independently.
How do I fix a rough edge after cutting?
Start with 150-grit sandpaper on a flat block (never finger-sand curves!). For concave areas, wrap sandpaper around a dowel. Finish with 220-grit for smoothness.
Conclusion
Mastering band saw patterns for beginners isn’t about perfection—it’s about progress. Start simple, respect your tool, and anchor every cut in preparation. The difference between a splintered mess and a proud handmade gift often comes down to pattern choice and patience.
Grab a piece of poplar, pick a forgiving shape, and make that first cut. Your future self—the one sanding smooth edges and finishing with tung oil—will thank you.
And remember: like a Tamagotchi, your band saw skills need daily care… or at least weekly shop time.
Smooth curves glide,
Blade hums soft through yielding grain—
Beginner, breathe.